Assumptions
Clockspring has been configured to use SSL as shown in the Clockspring SSL Setup Guide.
Clockspring is currently configured to use https with single-user authentiation. Clockspring only allows one multi-user configuration so the below changes will override any previous multi-user configurations.
This document will assume Azure AD SAML provider as the identity provider (idp). If using another idp then the steps will likely be different, but the core logic should apply. Work with your internal authentication team to identify any necessary changes.
Prerequistes
-
Ensure Clockspring host resloves correctly in DNS
-
The Azure AD account must have Application Administrator rights
Configure Azure SAML Provider
Create the Enterprise Application
-
Login to https://portal.azure.com
-
Search for Enterprise Applications
-
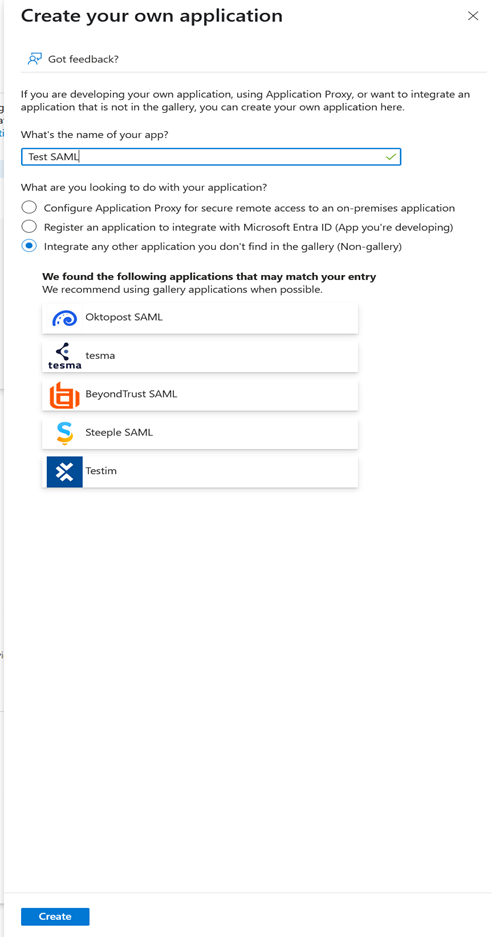
Click New Application → Create your won application
-
Name it (e.g. Production Clockspring SAML) and select: Integrate any other application you don’t find in the gallery (Non-gallery)
-
Click Create
Configure Single Sign-On (SAML)
-
Under Manage, select Single Sign-On → then choose SAML
-
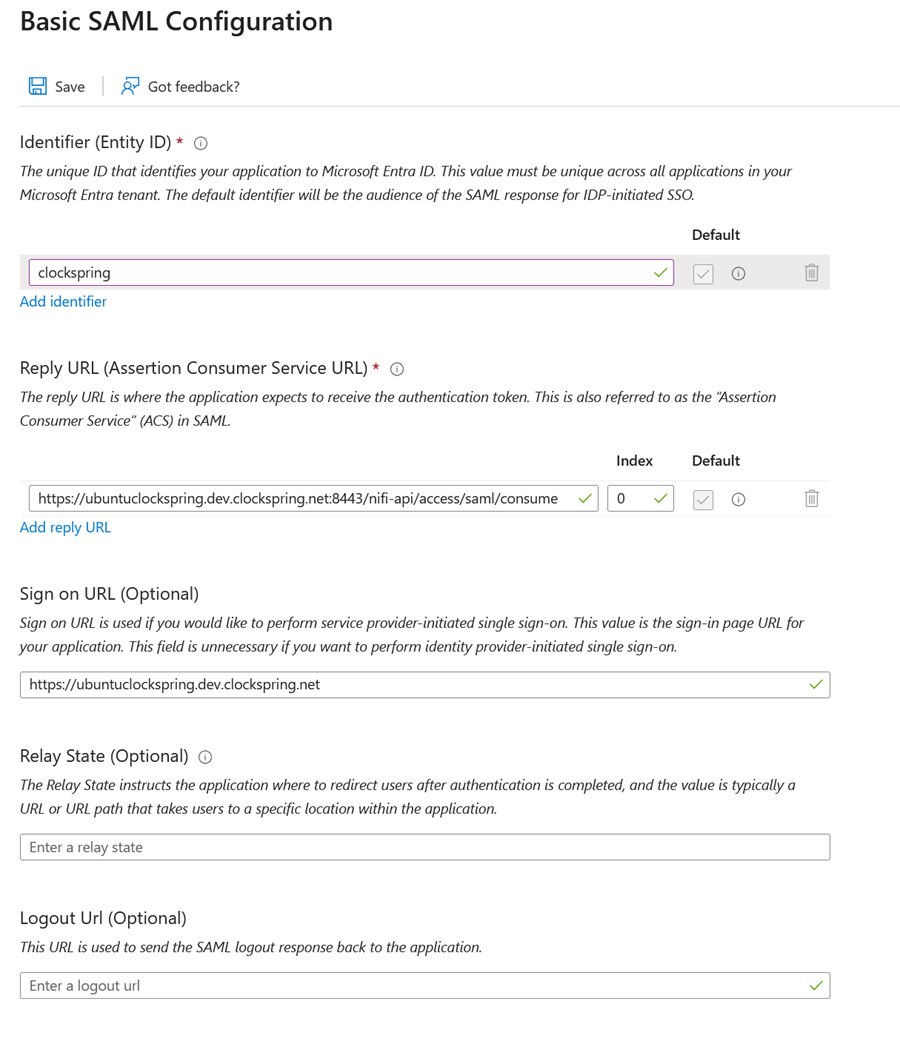
In Basic SAML Configuration, click Edit
-
Identifier (Entity ID): choose a unique name (you’ll need this later)
-
Reply URL:
https://<clockspring-host>:8443/nifi-api/access/saml/login/consumer
-
Sign-on URL:
https://<clockspring-host>:8443
-
Logout URL:
https://<clockspring-host>:8443/nifi-api/access/saml/logout
-
Save the settings
Set Attributes & Claims
Claims are key/value pairs that are sent from Azure to the application via a token. Clockspring only needs the ‘sub’ token which is included in the Unique User Identifier below
-
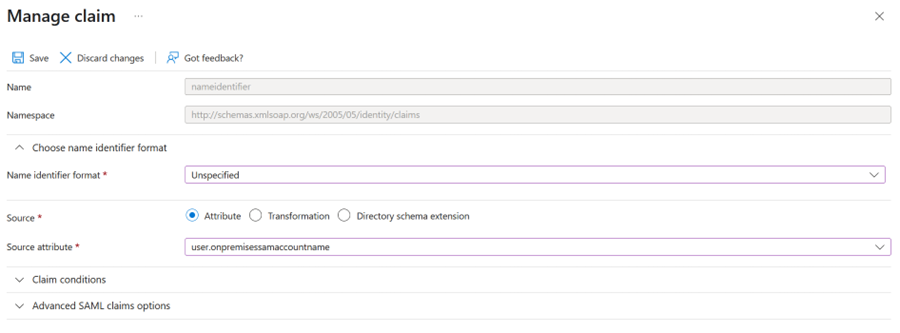
Click Edit next to Attributes & Claims.
-
Open the Unique User Identifier.
-
Set the source attribute to user.mail, user.userprincipalname, or user.onpremisesamaccountname depending on your desired username format
-
Use user.onpremisesamaccountname for the format used by on-premise users (which is first.last in this document)
-
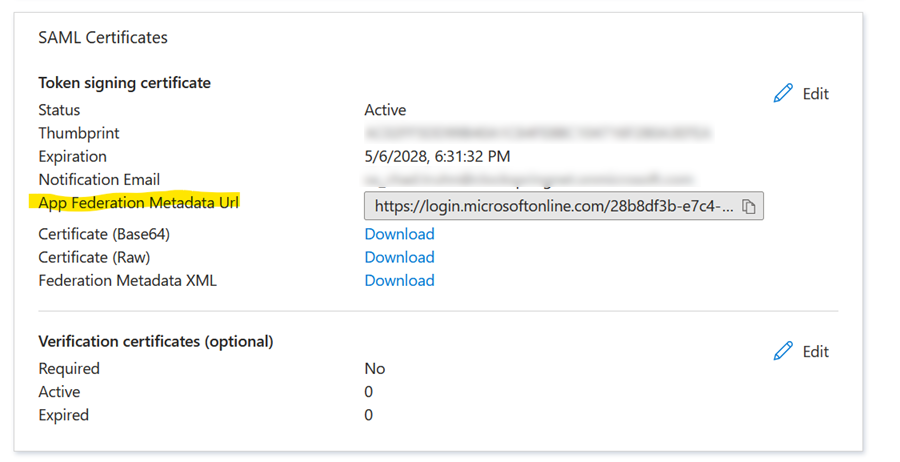
Copy the App Federation Metadata URL. You will need this in the Clockspring configuration.
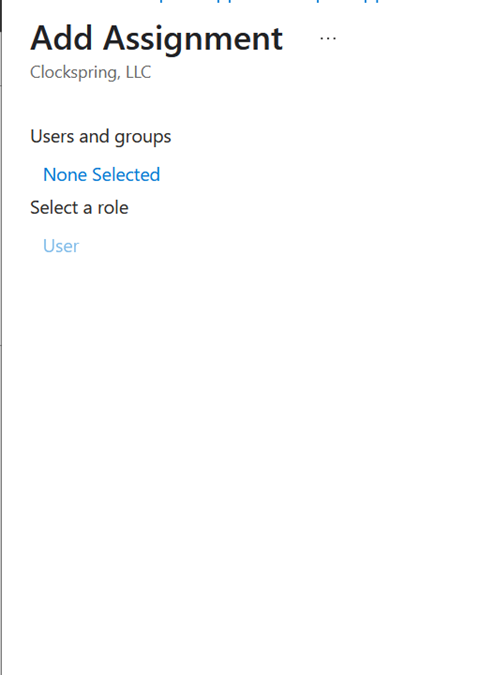
Assign Users or Groups
This is needed as only users in the assigned group would be allowed to log in to Clockspring. By default Azure requires a group to be assigned. This can be disabled to allow any authenticated user if needed through a separate process
-
In Users and Groups section, click Add user/group.
-
Click the “None Selected”
-
Select the desired group(s) or individual users.
Clockspring Configuration
-
Edit /opt/clockspring/conf/clockspring.properties to add SAML configuration information
nifi.security.user.authorizer=managed-authorizer
nifi.security.user.login.identity.provider=
nifi.security.user.saml.idp.metadata.url=<metadata-url-from-Azure>
nifi.security.user.saml.sp.entity.id=<same-identifier-used-in-Azure>
nifi.security.user.saml.group.attribute.name=groups
-
Edit /opt/clockspring/conf/authorizers.xml to set the initial identity granted admin rights
Under the <userGroupProvider> section edit the Initial User Identity and put your username inside the tags
<property name="Initial User Identity 1">john.smith</property>
Under the <accessPolicyProvider> section edit the Initial Admin Identity and put your username inside the tags
<property name="Initial Admin Identity">john.smith</property>
-
Remove the users.xml and authorizations.xml files so that can be rebuilt with the latest information
rm /opt/clockspring/conf/users.xml /opt/clockspring/conf/authorizations.xml
-
Restart Clockspring
sudo systemctl restart clockspring
You should now be redirected to the IDP and be able to log in to Clockspring as one of the initial users at: https://<clockspring_ip>:8443/canvas